

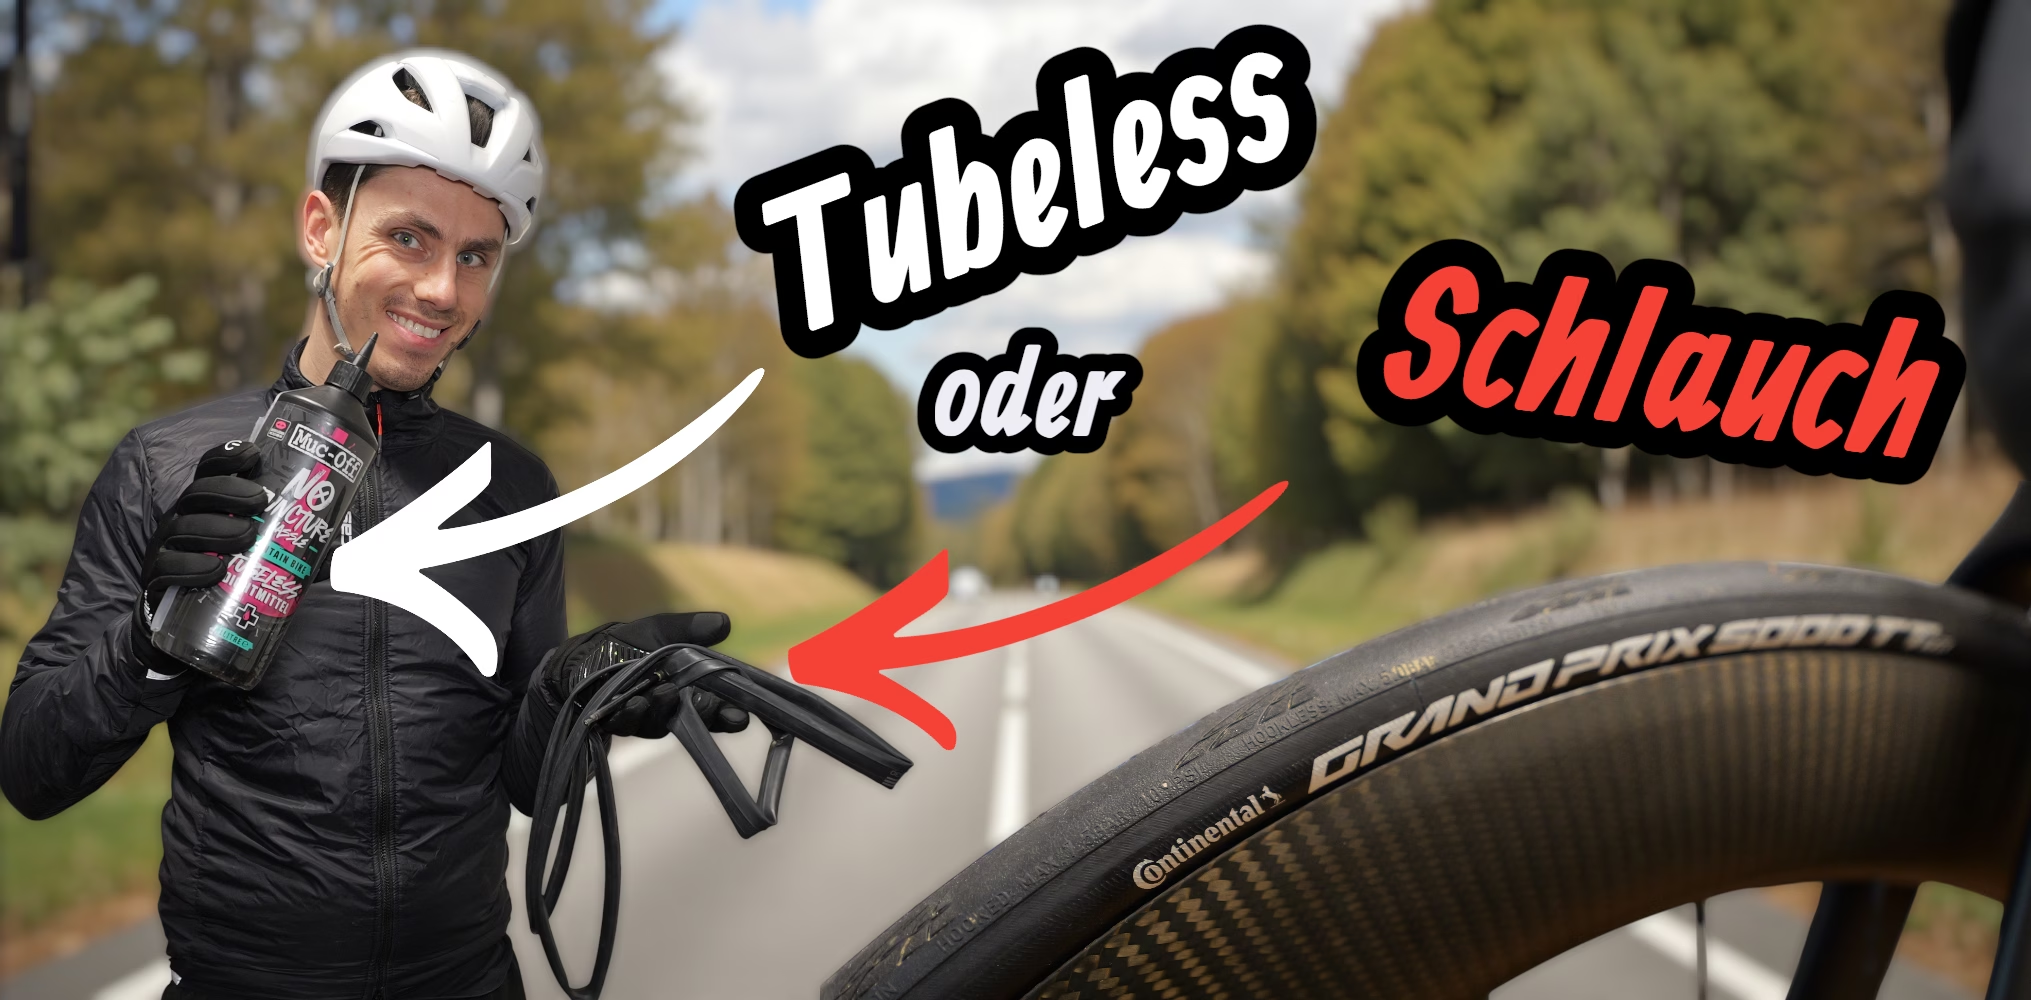
What Does Tubeless Mean?
The question of tubeless or inner tubes concerns many road cyclists, from beginners to ambitious recreational riders. Both systems have advantages and disadvantages, and no single solution suits every use. This article explores the differences between tubeless and inner-tube systems, their pros and cons, and who each system suits best. The aim is to give you a sound basis for choosing between tubeless and inner tubes.
Tubeless Starter Kit (Sealant + Valves)
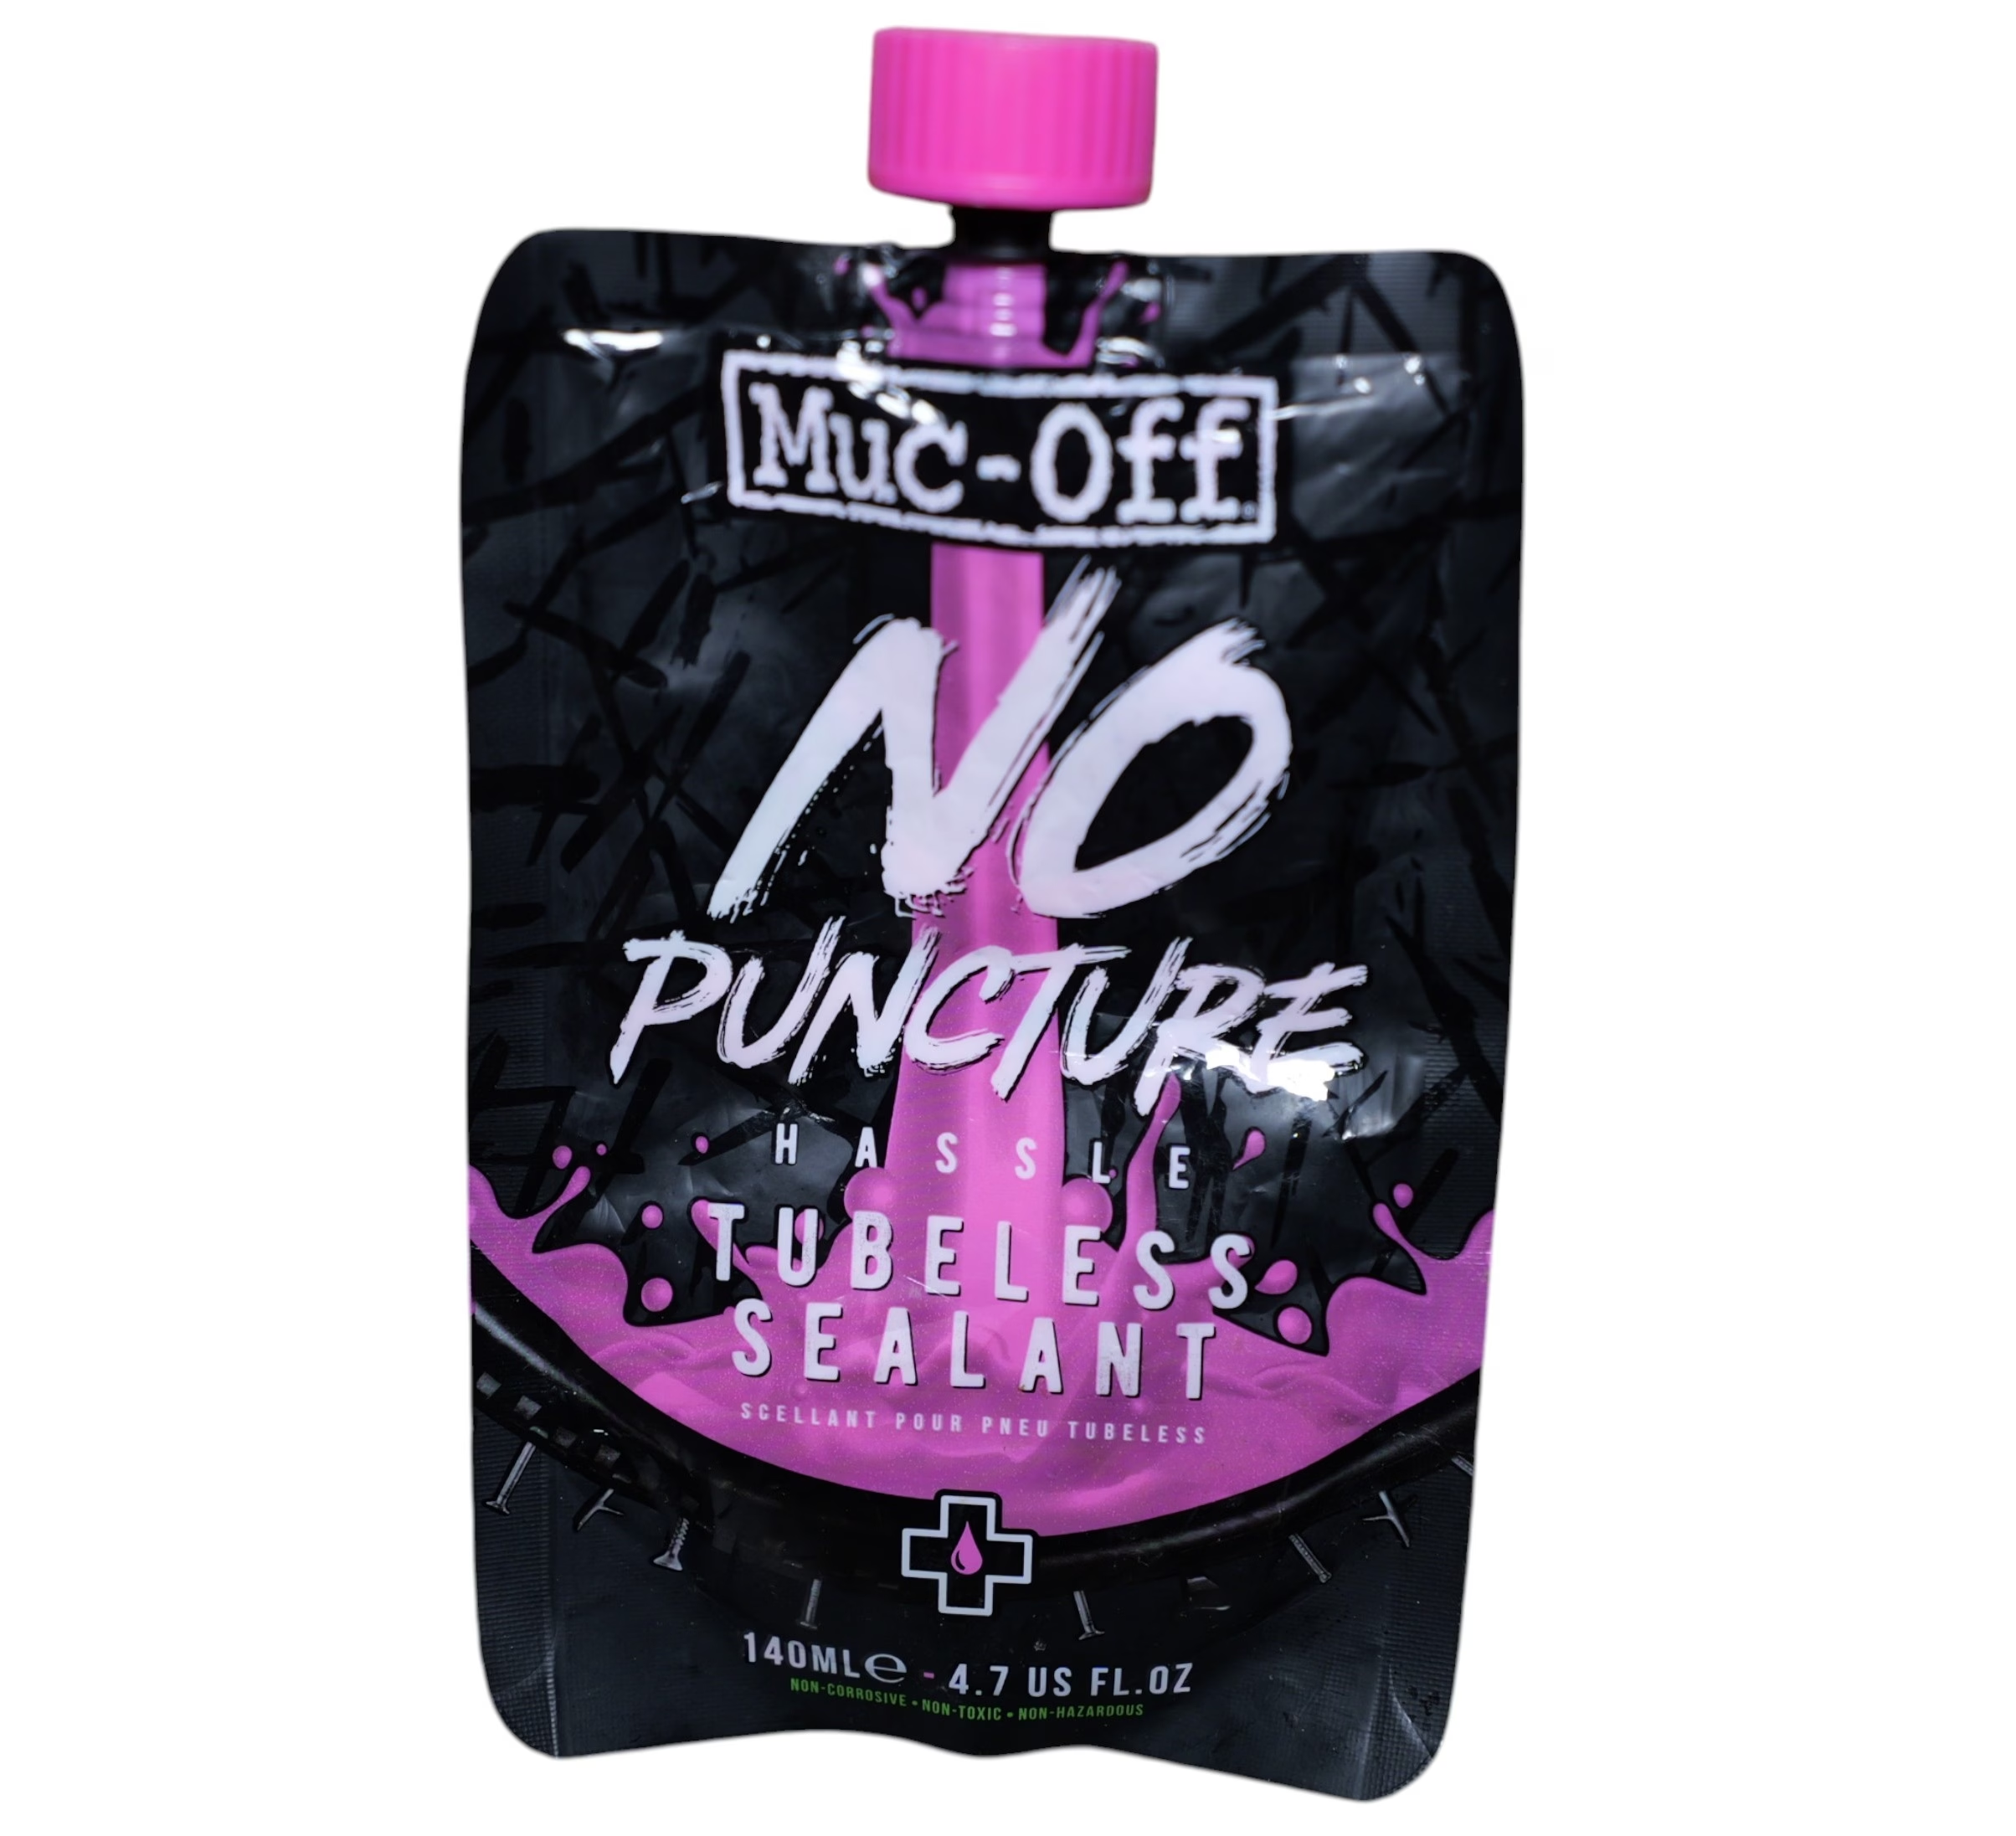
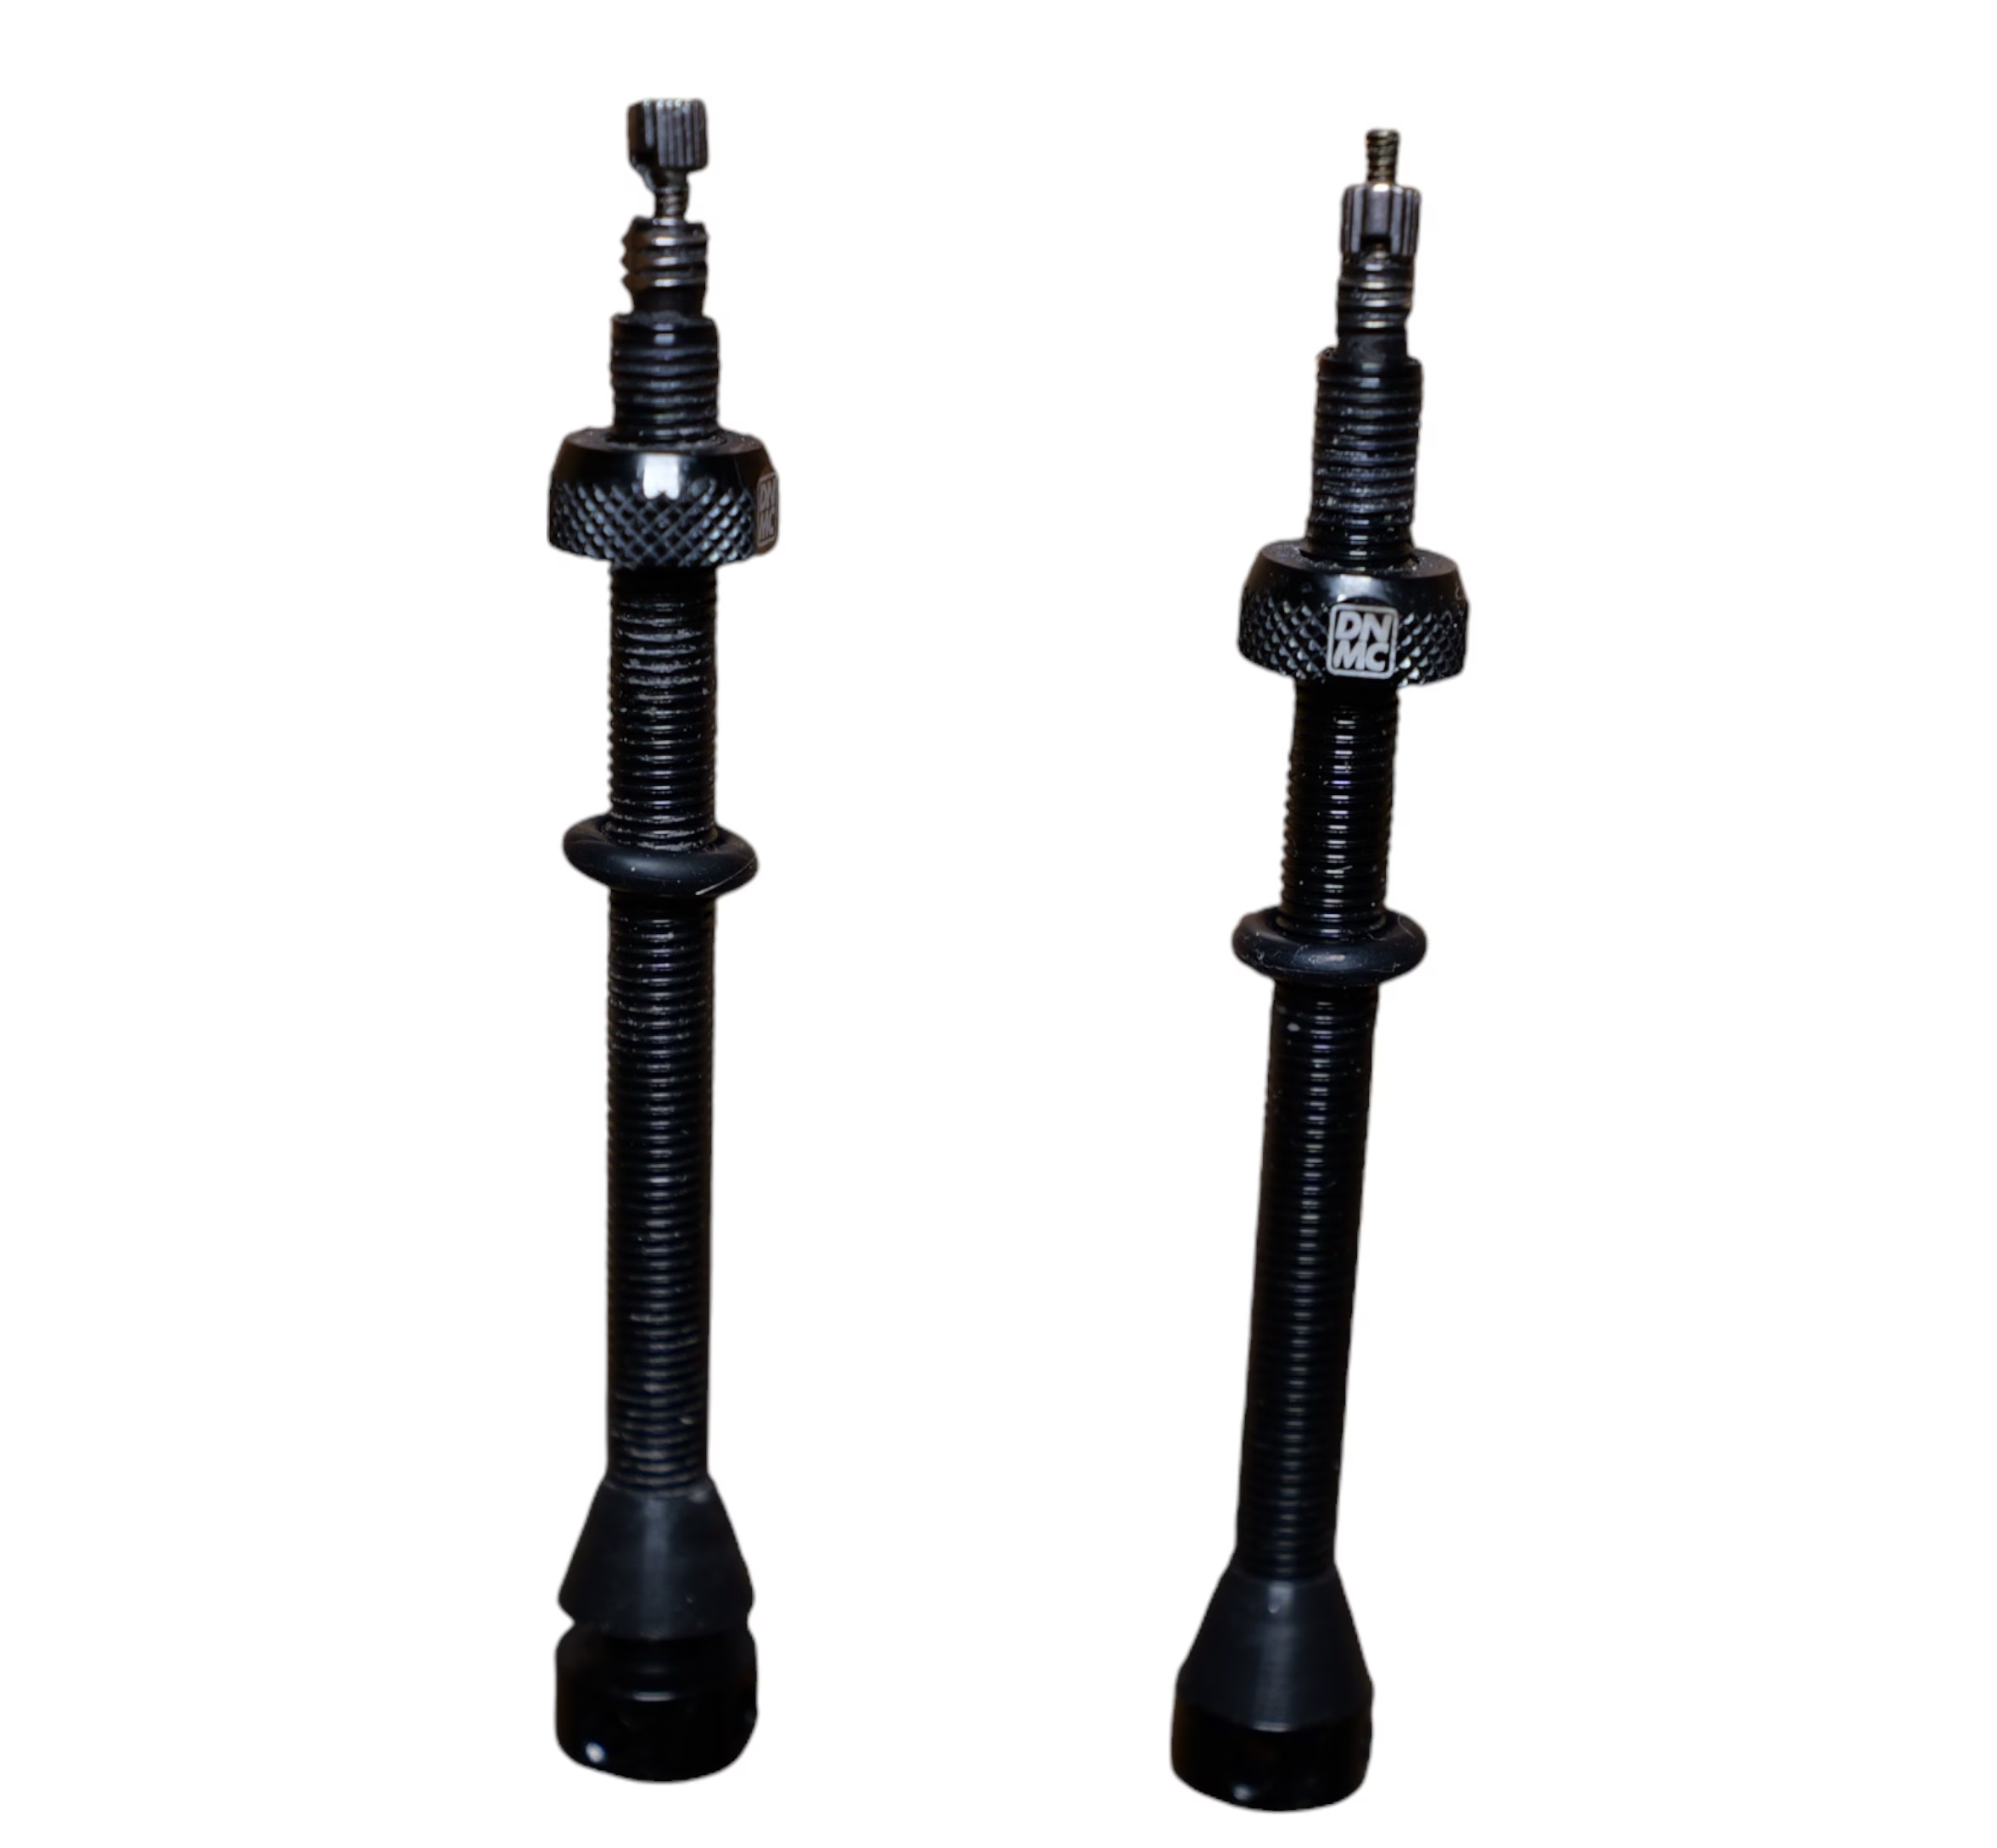
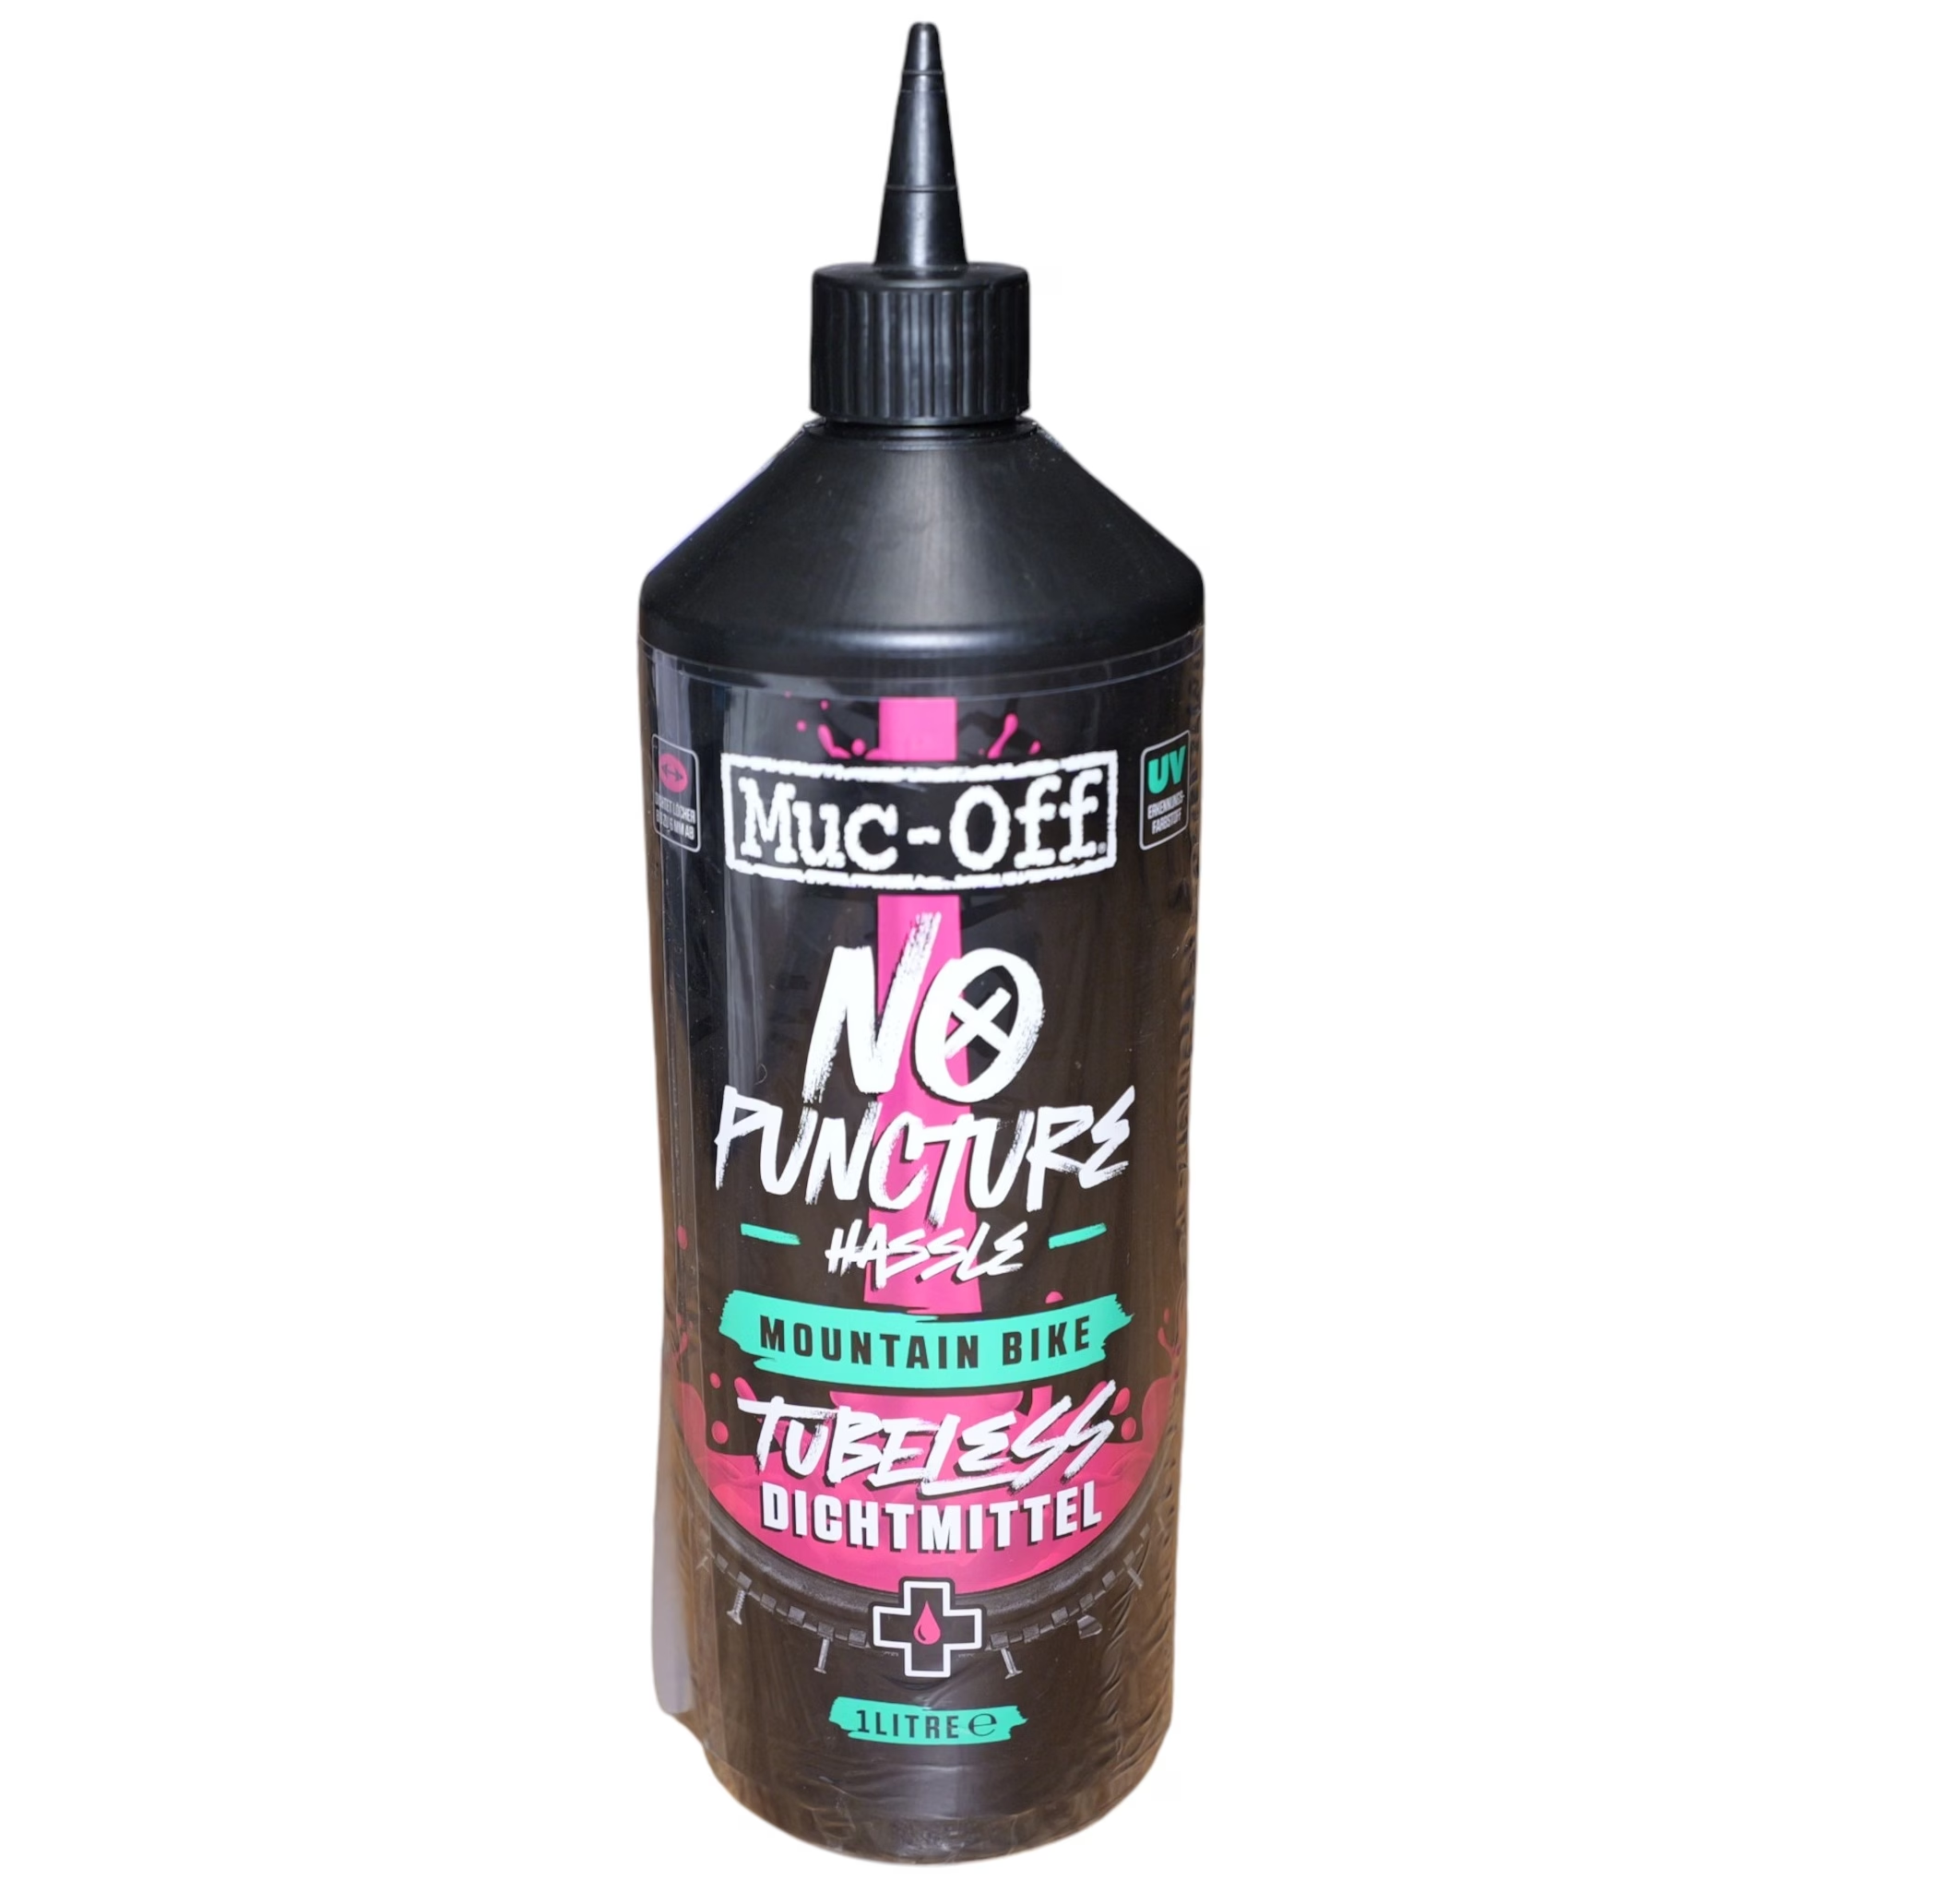
Trying to choose between tubeless and inner tubes? A solid tubeless setup with sealant and valves reduces many common punctures and often lets you ride more comfortably at a lower pressure. Read more in the article: Tubeless or Inner Tubes .
- Sealant: often seals small punctures automatically while you ride.
- Tubeless valves: a foundation of the setup, essential for a secure, airtight fit.
- A practical starting point: ideal if you want to switch from inner tubes to tubeless.
- ✓If you get frequent punctures and want fewer stops.
- ✓If you want a more comfortable ride, often with slightly lower pressure.
- ✓If you are switching from inner tubes to tubeless and need the accessories.
The English term tubeless literally means without an inner tube. In cycling, it describes a system in which the tyre is used without a conventional inner tube. Instead, the tyre is fitted directly to a specially designed airtight rim and filled with a liquid sealant mixture. This sealant spreads around the inside of the tyre and automatically seals minor leaks, porous areas and even small punctures while you ride.
Unlike a conventional inner-tube system, the tyre itself, together with the rim and sealant, holds the air pressure. Both tyre and rim must be specifically suitable for this to work. Tubeless Ready rims have a particular rim profile and are often already fitted with tubeless rim tape or prepared for it. Tubeless tyres also have reinforced construction and a special sealing bead that forms a tight, airtight connection to the rim.
What Is an Inner-Tube System?
An inner-tube system is the traditional and most widely used way of inflating bicycle tyres and maintaining pressure. It consists of three main components: the wheel and rim, the tyre casing and the inner tube.
The inner tube is an airtight rubber chamber that sits between the tyre and rim. Before fitting, it is inflated slightly, placed inside the tyre and then fitted into the rim with the tyre. When fully inflated, the tube expands evenly and presses the tyre firmly against the rim flange, creating a stable connection that provides the necessary support.
Statistics: Puncture Frequency
Puncture Risk by Cause (1–10) – Inner Tubes vs. Tubeless
1 = low • 10 = high. The colour adjusts automatically: green → yellow/orange → red.
To summarise:
- Riders using inner tubes experience punctures 3 to 6 times as often on average as tubeless riders.
- Small punctures in particular, caused by thorns, glass or nails, are automatically sealed by a tubeless system without the rider noticing.
- Snakebites, or pinch flats, are virtually eliminated with tubeless because there is no inner tube to become trapped between the rim and tyre.
- Larger damage, such as sidewall cuts or rim defects, affects both systems but is relatively rare overall.
A real-world example
A long-distance rider using inner tubes reports 8 punctures over 12,000 km in a year of touring, 6 of them caused by small glass shards. A comparable tubeless rider had 0 punctures over the same period, although the sealant was checked regularly. Perhaps this gives you your answer to whether tubeless or inner tubes are better.
Differences Between Tubeless and Inner Tubes
Puncture resistance
One of the biggest advantages of tubeless systems is improved puncture resistance. Sealant closes small punctures up to around 3 mm in diameter in a fraction of a second. That means no immediate air loss, no forced stop and no need to patch or change the tyre straight away. With a conventional inner-tube system, a puncture usually causes a flat that can only be repaired by replacing or patching the tube.
Tubeless or inner tubes? Tubeless clearly wins on puncture protection.
Rolling resistance
Tubeless tyres generally have lower rolling resistance. Removing the inner tube also removes friction between it and the tyre casing. Tubeless tyres can also be run at lower pressures without pinch flats, which is riskier with an inner-tube system.
Lower tyre pressure not only improves rolling resistance on uneven roads but also noticeably increases comfort.
Tubeless or inner tubes? Tubeless is ahead on rolling resistance too.
Watt Savings with Tubeless at 30 km/h
Watt Savings with Tubeless at 30 km/h
Range chart (min–max). Left: per tyre (0–5 W). Right: front and rear combined (0–10 W).
Savings per Tyre
Scale: 0–5 Watts
Total Savings (Front + Rear)
Scale: 0–10 Watts
Installation and maintenance
This is where the balance shifts: inner-tube systems are easier to install. Anyone who has tried fitting a tubeless tyre and making it airtight knows how much work it can involve. A compressor or specialist tubeless pump is often needed for the initial inflation. The sealant also needs regular checks and topping up, roughly every 3 to 6 months.
With an inner-tube system, a simple floor pump is usually enough, and replacing a tube on a ride is routine for many road cyclists.
Tubeless or inner tubes? The traditional inner tube wins on ease of handling.
Weight
Weight also favours tubeless. Depending on the combination of tyre, rim and sealant, tubeless systems are often a few grams lighter than inner-tube setups. Latex tubes in particular can also be very light, but they do not offer the same puncture resistance as tubeless.
Tubeless or inner tubes? Tubeless has a slight edge on weight.
Compatibility
Not every rim is tubeless-compatible. Tubeless requires specialist rims with a suitable profile and an airtight seal. Older wheels or cheaper models are often suitable only for inner tubes. The choice of genuinely good tubeless road tyres was also limited for a long time, although it continues to improve.
Tubeless or inner tubes? Inner-tube systems still have the edge on compatibility.
- 1. Puncture resistance – Sealant automatically closes small holes, for example from thorns or glass shards. Fewer traditional snakebites, or pinch flats, because there is no inner tube to get trapped.
- 2. Lower rolling resistance – No inner tube means less friction inside the tyre, saving energy and improving efficiency.
- 3. Better comfort & grip – Lower tyre pressures are possible, significantly improving comfort and traction on loose or wet surfaces, especially for gravel, MTB or cyclocross.
- 4. Weight advantage – Removing the inner tube saves some weight in certain setups, particularly relevant with lightweight road tyres.
- 1. More involved installation – Initial setup is more complicated, involving sealant, sealing and seating the tyre on the rim. A compressor or booster is sometimes needed to pop the tyre properly into place.
- 2. Regular maintenance – Sealant dries out over time and needs topping up every 2–6 months. Valves occasionally need cleaning because sealant can clog them.
- 3. Compatibility – Not all rims and tyres are tubeless-compatible: they must be Tubeless Ready. Problems can arise on road bikes with very narrow rims.
- 4. Punctures on a ride – Larger damage, such as cuts, cannot always be sealed, so a spare inner tube or repair kit is needed.
Who Is Tubeless Suitable For?
A tubeless road bike setup is particularly suitable for:
- Ambitious road cyclists who value performance and puncture resistance
- Gravel and all-road riders who frequently ride on mixed terrain
- Long-distance riders for whom every unexpected puncture is a major interruption
It does, however, require a certain level of technical understanding and a willingness to spend more time on the setup. Tubeless or Inner Tubes
Who Is Better Served by Inner Tubes?
A traditional inner-tube setup is ideal for:
- Beginners looking for a simple, low-maintenance system
- Touring cyclists who can carry and fit a spare tube if needed
- Riders with older equipment that is not tubeless-compatible
If you enjoy doing your own maintenance and want to solve problems quickly on a ride, an inner-tube system remains a good choice.
Interim Verdict: Tubeless or Inner Tubes?
Choosing between tubeless and inner tubes depends heavily on intended use, personal expectations and the equipment involved. Riders willing to put more effort into installation and maintenance are rewarded with fewer punctures, better comfort and lower rolling resistance from tubeless. For anyone who prefers a dependable, simple system, the good old inner tube remains a solid choice.
What Do You Need to Convert to Tubeless?
If you have decided to switch from a conventional inner-tube system to tubeless, good preparation matters. The conversion requires several specialist components and tools. This section explains exactly what you need to convert your road bike successfully and what to look for when choosing the parts.
Tubeless-compatible rims
The most important point comes first: your wheels must be Tubeless Ready or tubeless-compatible. These rims have a particular rim bed and side profile designed to form an airtight connection with tubeless tyres. If your current wheels are not designed for this, conversion is either impossible or involves considerable effort.
Tip: Look for the manufacturer's Tubeless Ready marking.
Tubeless tyres
Not every tyre is automatically suitable for tubeless use. You need specialist Tubeless Ready road tyres with a reinforced casing and a special sealing bead. They are designed to form an airtight seal and sit securely on the rim without an inner tube.
Important: Use only tyres explicitly marked Tubeless Ready or Tubeless Compatible.
Tubeless valves
Tubeless systems require specialist valves fitted directly into the rim's valve hole. These valves form an airtight seal and usually have a removable core through which sealant can later be added. They are generally made of aluminium or brass and come in different lengths to suit the rim depth.
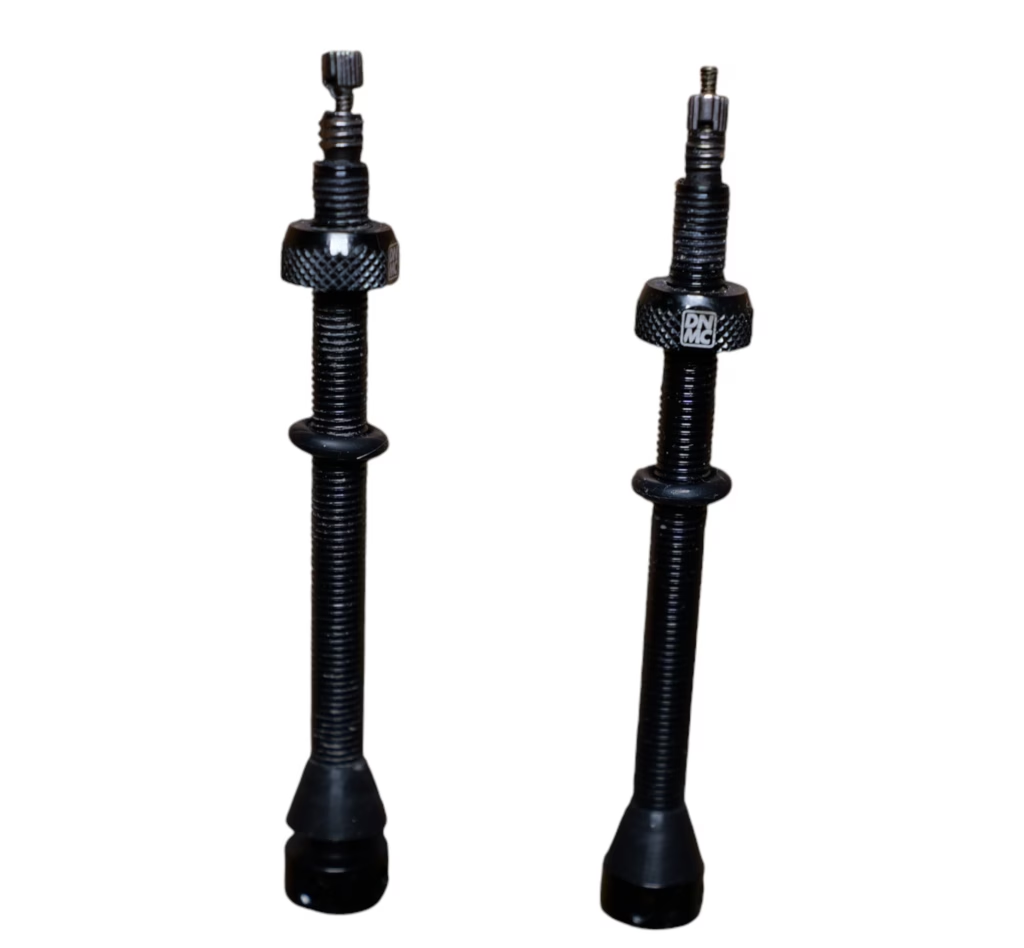
Tip: Make sure the valve has a rubber base and a suitable locknut to create an airtight connection.
Tubeless rim tape
Even tubeless-compatible rims are often not airtight because they have spoke holes. You therefore need specialist tubeless rim tape to seal the rim. This tape withstands pressure, is airtight and resists tearing. It is applied tightly to the rim bed without air bubbles, preventing air from escaping through the spoke holes.
Note: The rim tape width must match the rim's internal width exactly.
Tubeless sealant (tyre sealant)
Sealant is a central part of a tubeless system. This liquid spreads around the inside of the tyre and automatically seals smaller holes, for example from thorns or glass fragments. Without sealant, a tubeless system will not work reliably. Depending on the manufacturer and tyre size, you need around 30–60 ml per tyre.
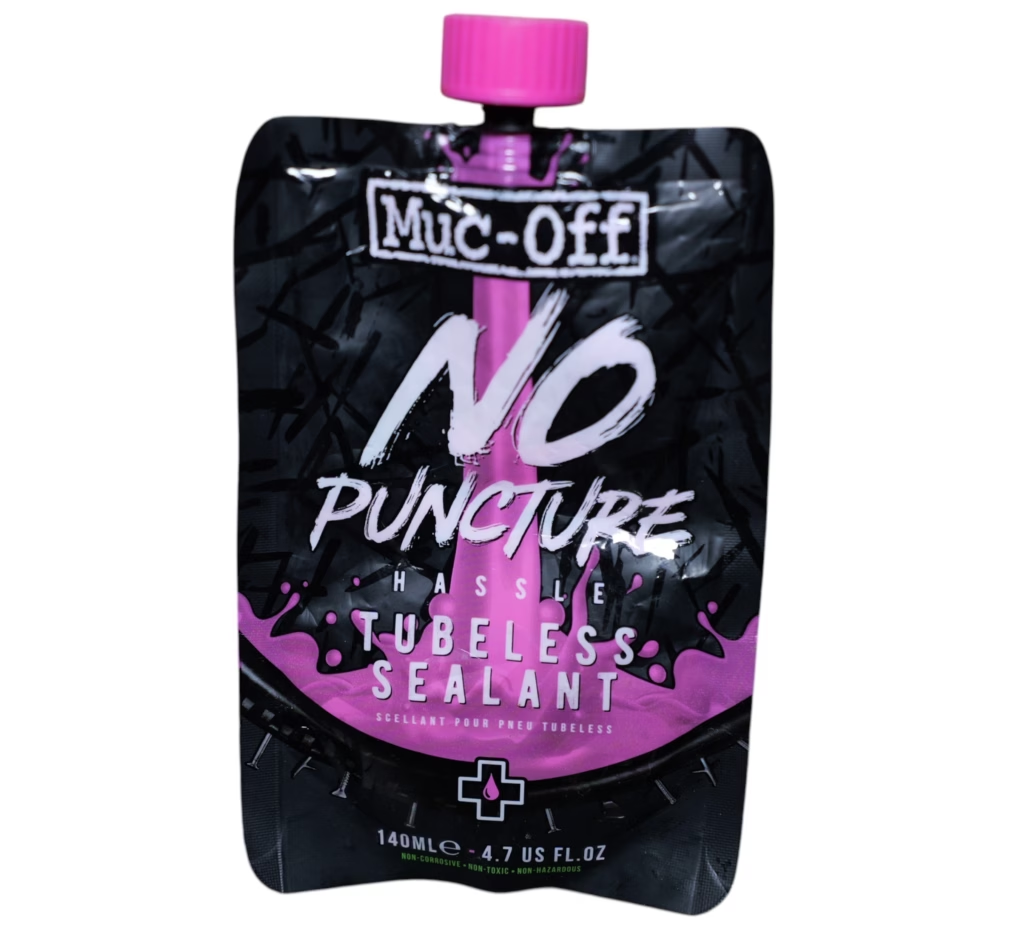
Important: Sealant dries out over time and needs topping up or replacing completely every 3–6 months.
Tubeless Pump or Compressor
Inflating tubeless tyres for the first time requires a strong burst of air to seat the tyre suddenly in the rim bed and create a seal. Ordinary hand pumps are usually not sufficient. You need either:
- A dedicated tubeless pump with a pressure tank, such as the Schwalbe Tire Booster or Topeak JoeBlow Booster, is recommended
- Or a compressor in extreme cases
Some tyres can also be fitted using a powerful track pump, but this depends heavily on the rim and tyre.
Valve Tool and Cleaning Products (Optional, but Recommended)
A valve tool for removing the valve core makes adding sealant much easier. A syringe with a hose adapter can also help you inject sealant cleanly through the valve.
It is also worth having some brake cleaner or isopropanol to hand to degrease the rims and tyres thoroughly and remove residue before fitting.
Checklist: Everything You Need for a Tubeless Conversion
Here are the most important components in a clear list:
| Required Component | Function |
|---|---|
| Tubeless-Compatible Rim | Allows the tyre to form an airtight seal |
| Tubeless Ready Tyres | Specially reinforced tyres for riding without inner tubes |
| Tubeless Valves | For inflation and sealing the valve hole |
| Tubeless Rim Tape | Seals the spoke holes |
| Tubeless Sealant | Seals small holes in the tyre |
| Tubeless Pump / Compressor | Provides the initial burst of air to seat the tyre |
| Optional: Valve Tool | Makes adding sealant easier |
| Optional: Cleaning Wipes | For clean fitting and better adhesion |
Final Thoughts
There is no single answer to the question ‘Tubeless or inner tubes on a road bike?’ Both systems have their place. What matters is choosing the system that suits your riding style, equipment and priorities. The trend is clearly towards tubeless, including in road cycling. Nevertheless, the inner tube is a long way from retirement.
If you are just getting into road cycling, you can confidently start with inner tubes. However, if you want maximum performance, comfort and puncture protection, tubeless is the modern alternative, even if it requires a little more knowledge and maintenance.
Tubeless or inner tubes – ultimately, what matters is getting you to your destination reliably and with a smile.
You might also be interested in…
0 Comments